Bootable USB is a life saver, especially when you are unable to login to Windows or system crash. Being a household name, Rufus has always been trying to help users in creating these bootable USBs. However, more often than not, users come back complaining that Rufus didn't work as intended. If that user is not you, then you can read ahead to know more about how to create a Windows 10 bootable USB for your PC. But just in case Rufus doesn't work, I have also provided a couple of alternatives that you can opt for.
What Is Rufus?
Rufus is a free and open-source tool that can be used to create bootable media for your Windows or Linux PC. You can use different type of media, like USB, CD, DVD etc. to create this bootable media using Rufus. It doesn't take up much space, and can be installed easily. There is also a portable version of this tool available on their website. It provides two MBR and GP partition schemes for those who want to make a bootable USB for Windows ISO.
Moreover, it sports a user-friendly graphical user interface that makes it extremely simple to use. You can even use Rufus to download Windows ISO files in case you don't have any, this ISO file is required to create the bootable media using Rufus. However, this incredibly powerful tool does come with its own set of issues.
Common Issues with Rufus
- The glaring issue with using Rufus is that it does not have a dedicated support channel. In case you come across a problem while creating your bootable media, you need to post it on various forums, or on their GitHub repository to find a solution.
- Also, Rufus does not support Legacy boot, so if you have one of those older PCs you need to find some other solution.
- About 23% users report that Rufus does not detect usb, not recognize dvd and unable to detect ISO file.
- 20% of users said the rufus doesn't boot from Windows installer USB in UEFI mode even with BIOS setting correctly.
- About 12.4% of users were surprised that rufus acts strangely, it doesn't allow users to select the GPU partition scheme even with a UEFI system.
- What's more, Rufus 3.0 is no longer supported on Windows XP.
Create Windows 10 bootable USB with Rufus
Get Windows 10 ISO File
Step 1. Here are the detailed steps on how to use Rufus to create windows 10 bootable usb for computer novice. You need to download the Windows ISO image file and latest Rufus program.
Step 2. Suppose that you don't have a Windows 10 ISO image file, you can follow this guide to download Windows 10 ISO file. Go over to the Microsoft website and download the Windows 10 media creation tool, and save it on your desktop. If you've already have a Windows 10 ISO file, just skip this.
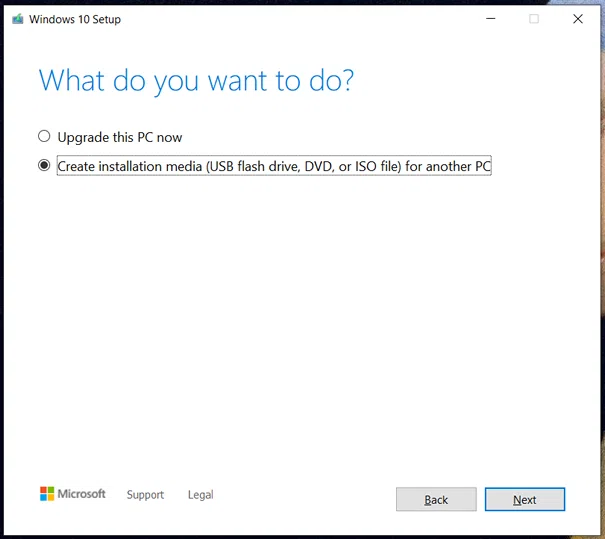
Step 3. Next, run the .exe file for the media creation tool, accept their licensing agreement, then select the option to create the installation media for another PC and press Next.
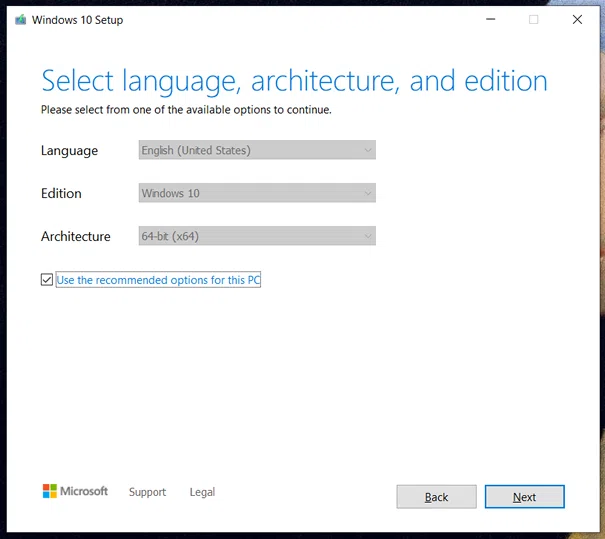
Step 4. On the next window, which will ask you to select the language, edition etc, keep the default settings and press Next.
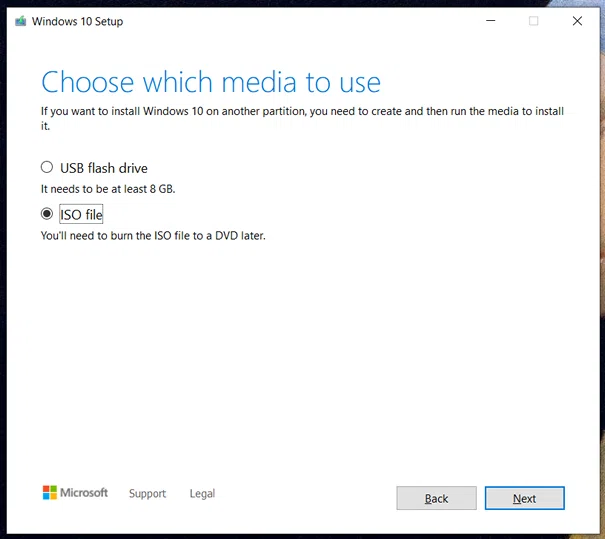
Step 5. Check the ISO file option and press Next. This will ask you to save the ISO file, save it on your PC.
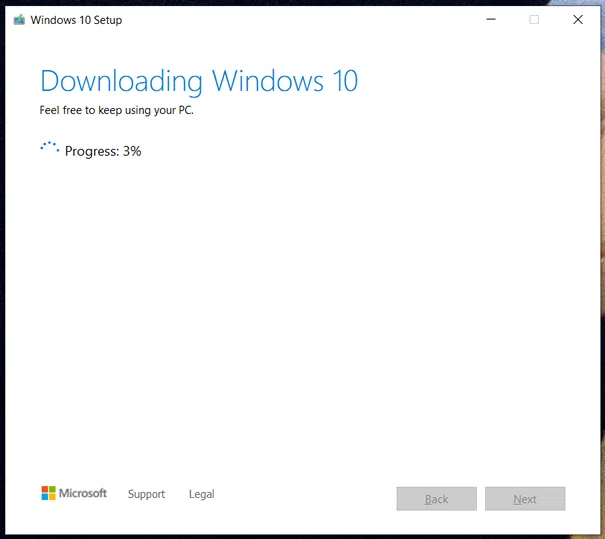
Step 6. This will start the process of downloading the Windows 10 ISO file.
Once the ISO file is saved, get the latest version of Rufus from their official website (https://rufus.ie/en/), right clicking on the recent version listed under their Downloads section and saving it on your desktop.
Start to Use Rufus
Step 7. Open the .exe file for Rufus that you just now downloaded.
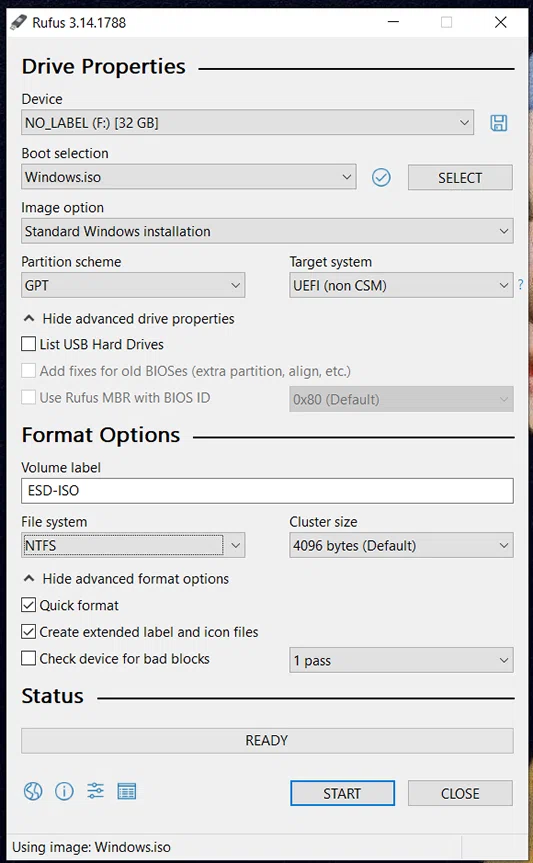
Step 8. Under Device menu select the USB drive that you have inserted in the PC,
Step 9. Under Boot selection menu choose Disk or ISO image (Please select) option in case its not already chosen, then press the SELECT button on the right to select the Windows 10 ISO file that you downloaded earlier.
Step 10. What can be confusing is the partitioning scheme, you can choose the right options according to your needs:
UEFI only:
- Partition scheme: GPT
- Target system: UEFI (non CSM)
- File system should be FAT32.
Dual UEFI + Legacy BIOS:
- Partition scheme: MBR
- Target system: BIOS or UEFI
- File system: FAT32.
- If the ISO file is larger than 4GB, choose NTFS.
Legacy BIOS only:
- Partition scheme: MBR
- Target system: BIOS (or UEFI-CSM)
- File system should be NTFS.
Step 10. Finally, click on START to start the process of creating the Windows 10 bootable USB, and click OK to confirm. It will take some time to complete the process.
NOTE: If you get an error message saying "This ISO image contain a file larger than 4 GB", to fix this, just choose NTFS instead of FAT32, Rufus will allow seamless boot of an NTFS partition from a pure UEFI system.
What is UEFI?
If you look at the above process, you will see that we selected UEFI from the Target system menu. You must be thinking what is UEFI? Well, without going much into their technical details, you can think about UEFI as one of the boot options for your PC, the other one being Legacy. Their difference lies in the fact that Legacy boot uses the PC BIOS to boot into Windows (or any other operating system that you might be using), compared to that UEFI uses a firmware to boot to your operating system.
That advantage of UEFI over Legacy booting is that UEFI lends more advanced functionalities, and more security to the boot process. Most modern PCs use UEFI for booting into them. However, people who are still using older PCs will need to create bootable USBs using Legacy mode, otherwise they will not be able to boot using an USB created using UEFI mode.
In our test for Rufus, we found a choice that can be executed successfully.
- Select GPT if you only need UEFI support.
- Select MRB + FAT32 will support both UEFI and Legacy boot mode.
- Choose NTFS instead of FAT32 if install.wim file larger than 4 GB.
Create Windows 10 Bootable USB without Rufus
As mentioned earlier, Rufus comes with its own set of nuances. So what should you do in case Rufus is no more an option for you. There are other tools available that can help you solve the problem. I have discussed 2 more tools here that you may find helpful in case Rufus is not working; WonderISO from SYSGeeker, and Deepin Boot Maker.
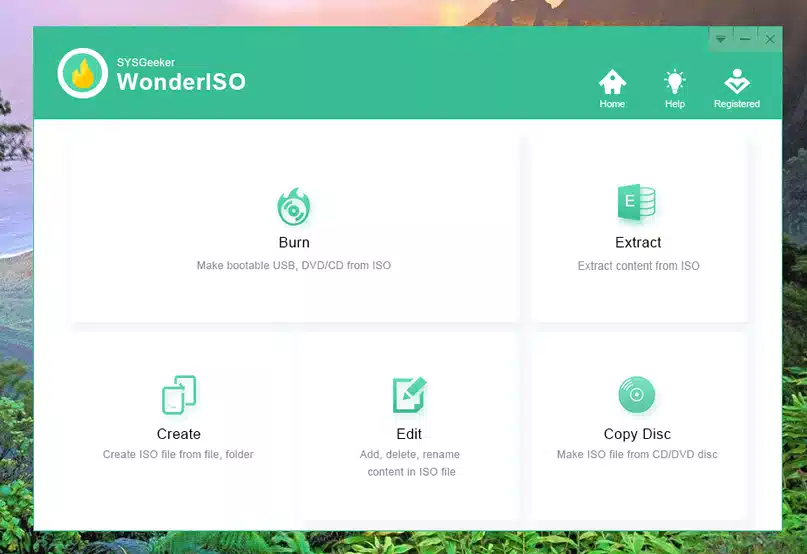
WonderISO
This tool provides a comprehensive ISO burning solution for all your PC needs. You can create bootable media using SYSGeeker WonderISO for both Windows and Mac. One of the biggest advantages of using WonderISO is that is supports both UEFI and Legacy boot mode, so if you have an older PC you can still use this tool to create your bootable media. You are NOT limited to only using a FAT32 that less than 4 GB when booting UEFI, WonderISO tool has a logic to detect the presence of a file that larger than 4 GB in the source folder of ISO file, and WonderISO will split the install.wim file into several parts and save as FAT32.
Steps:
- Step 1. Download and install WonderIS on a Windows or Mac computer.
- Step 2. Click Burn button , then select your Windows ISO file and insert your USB drive.
- Step 3. Select the USB option and in Partition Style, select UEFI (this works for all modern PCs).
- Step 5. Click Burn button to start.
Deepin Boot Maker
Deepin Boot Maker is yet another utility that helps you create bootable USB for your Windows 10 PC. Is has a simple user interface sans any options, this makes it extremely simple to use even if the user don't have any prior experience in creating bootable media. However, like Rufus, Deepin Boot Maker too does not have a dedicated support channel. It does have a Wiki instead for documentation, but I couldn't find any documentation on how to create Windows 10 bootable USB using Deepin Boot Maker.
Steps:
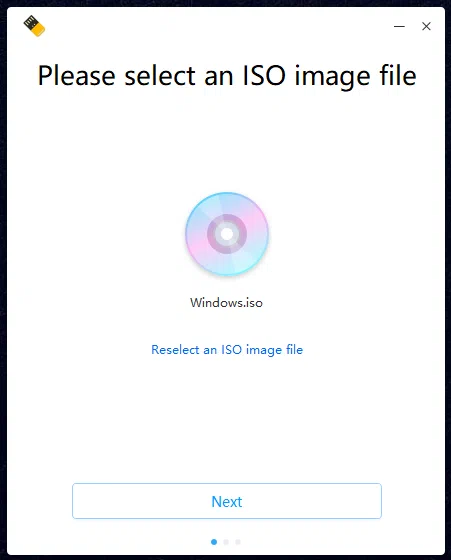
- Step 1. Download Deeping Boot Maker from their website, the .exe file does not need to be installed and can be run directly.
- Step 2. Click on the Select an ISO image file to select the Windows 10 ISO image and press Next.
- Step 3. On the next screen confirm that the USB drive has been selected by default then press that to select it, check the option of formatting the disk, then press Start Making.
- Step 5. This will start the process of creating the bootable Windows 10 USB.
- Step 6. Once the process completes, it will either show you a success message or a failure message like I got.
If you got a success message, congratulations! Now you can take out the USB from the drive and use it as and when you need.
Conclusion
Considering all the scenarios, I would recommend WonderISO for creating the bootable USB for your Windows 10 PC. It has a greater success rate than Rufus and Deepin Boot Maker, it has a dedicated support team to help you in your time of need, it also extends support for legacy PCs. So no need to feel left out if you have an older system. There are other options available too, but the more you search the more confusing it becomes. So its best to stick to the one option that you know works.