Sometimes, when you plug your USB flash drive into a computer and your USB drive may throw The disk is write protected. Remove the write-protection or use another disk", then you will find you're stuck with a USB Flash Drive that can't be formatted or cannot copy data, this is due to the write protection issues. It is a widely discussed error with a failing controller chip on flash drives. It's probably a virus , software issue and chip issue.
Every USB flash drive comes with a physical lock that can be slid up and down to enable or disable write protection on it. But sometimes unlocking it physically still does not budge it from showing the error again and again. May be your memory card got locked down due to digital write protection.
Write protection usually allows you to maintain security measures by enabling "read only" status, by removing the protection you can simultaneously add or delete contents from the USB drive which in current state you are finding difficult to copy or paste data. We are going to take you on a little tour guide to help you understand how to eradicate the write protection on USB drive on Windows.
Reasons for USB Flash Drive Write Protected Issue
On some USB drives , there is a switch on one side that can be used to disable the lock, just turn into the opposite direction, then check if your USB flash drive can be reconnected to the computer, but this is not its sole cause. There's a whole host of reasons why a USB drive is write protected. Here are some main causes corrupted
- The lock switch on one side is not turned off.
- Virus infection or hacker attacks.
- USB flash drive partition table corrupted
- The USB was set in read Only mode.
- The USB flash drive is dead.
In Fact.
This write protected issue easily occurs on 16GB USB stick and 128 G flash drive, for many brands like Sony, Scandisk, HP etc.
USB Drive Is Write-Protected due to Read-only Attributes
If you get a "The disk is write protected. Remove the write-protection or use another disk", this situation may occur due to read-only attributes. In this method we are going to use the Diskpart console which helps you to manage disk partitions and huge volumes of data at a low access level. The method would need to use command prompt, the command line interpreter of Windows to achieve the goal.
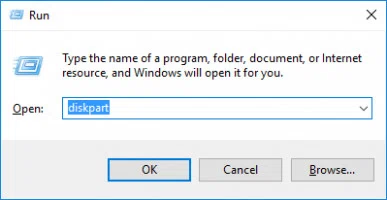
Step 1. Press "Windows logo Key + R" to launch "Run" tool. Enter "cmd" in the search field and hit "Enter". Or directly type "diskpart" and press "Enter".
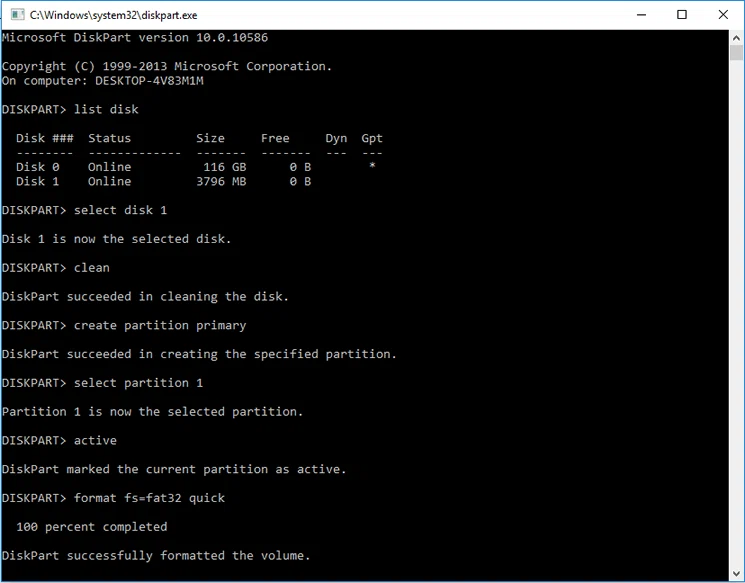
Step 2. Type "List disk" to display you all the disk partitions available.
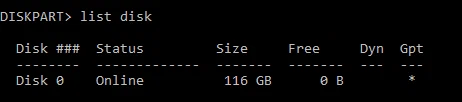
Step 4. Choose your disk and enter "Select disk 0" where "0" here stands for the disk you are selecting.

Step 5. Input "attributes disk clear readonly" may be two to three times, this command will remove the attributes and remove write protection from your USB flash drive.

Step 6. Type "exit" and press Enter to exit Diskpart and Command Prompt, then reconnect your USB flash drive to computer, check if the write-protection is removed.
USB Flash Drive is Write-Protected but No Data in It
If your USB flash is write-protected due to read-only attributes, but there is no important data stored in it, the issues might be generally resolved by deleting the attributes and formatting the write-protected USB flash drive. Now just continue the command line in Case 1, you can format the USB drive.
Step 7. Input "Clean" may be two to three times, and then type "create partition memory" and a new partition in the memory card will be created.
Step 8. Type "Select partition" to select the partition you just created.
Step 9. Now enter "Active" to enable or activate the disk and finally type format fs=ntfs to start formatting the disk partition to NTFS.
Remove Write Protection from USB via Registry
This is a very simple way of removing the write protection but keep one thing mind that if anyting goes wrong with handling registry, it may disrupt your operating system. So be sure before you go ahead with this method.
Step 1. Type "regedit" in the Windows search panel and select "Run as administrator" from right click sub menu option.
Step 2. Once the Registry editor panel opens up, navigate to the following location:
HKEY_LOCAL_MACHINE\SYSTEM\
CurrentControlSet\Control\
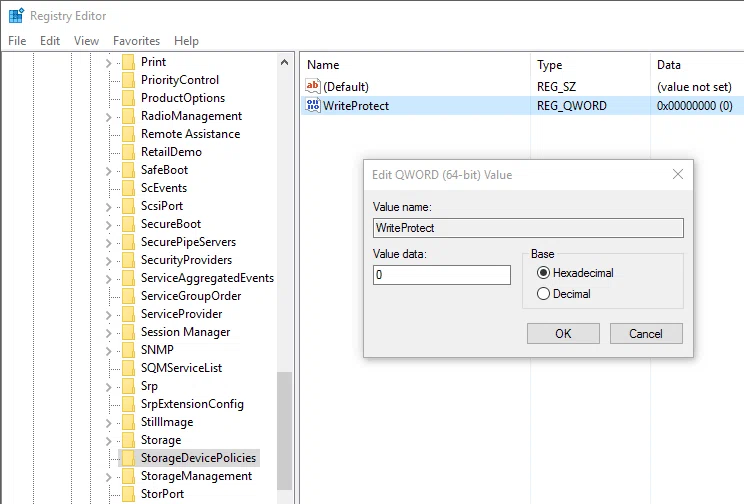
In case it does not show a folder named "StorageDevicePolicies" simply right click on the current panel. From the context list choose "New" and then "Key" and name the new folder "StorageDevicePolicies".
Step 3. Now right click on the "StorageDevicePolicies" folder and choose a new value for the key DWORD (32-bit) for 32 bit or QWORD (64-bit) for a 64 bit computer system.
Step 4. You need to rename dword newer folder into WriteProtect, then double click WriteProtect key to change the value data to 0.
Step 5. Then close the regedit, restart your computer and re-plug in your USB drive again into your computer, then check if you can access your USB drive.
Disable Write Protection using Local Group Policy Editor
There could be a possibility that your USB flash drive might have been locked by Windows local group policy. So if you find the first methods not working in your favor, try this one to remove the "Read only" restriction.
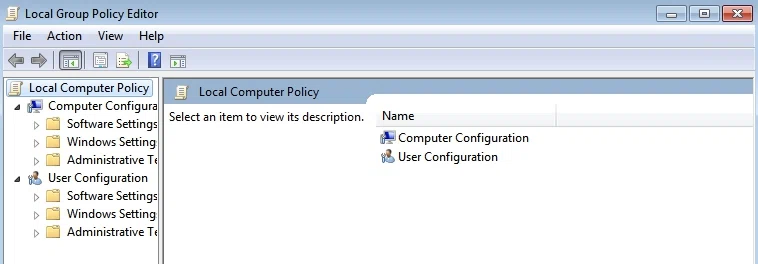
Step 1. Go to "Run" and type "gpedit.msc" and hit "Enter" to open up the Local Group Policy Editor operating window.
Step 2. Navigate to the following location: Computer Configuration> Administrative Template> System> Removable Disks
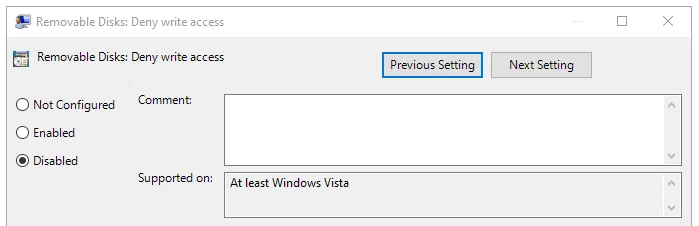
Step 3. Now just choose "Disable" option for the parameter "Removable Disks: Deny write access" and the write restriction will be disabled instantly.
Before you head on with these methods, you first should try to pull the slip up and down to check if the USB drive gets unlocked or not. You will find the slider on the upper left side of the card. In case the restriction is still not gone, only then go for the above methods. If the above methods fail to give you the right result, or you find it less confident to approach them, you better take an expert advice.