
Table of Contents
Creating password protected zip files can be an effective way to secure sensitive information and prevent unauthorized access. Whether you’re sending confidential documents over email or storing personal files on your computer, password protecting your zip files adds an extra layer of security. In this blog post, we will explore why creating password protected zip files is important and how to do it using various methods on a Mac.
Why Need to Create a Password Protected Zip?
When it comes to protecting your personal and sensitive data, relying solely on file permissions or folder encryption may not be enough. Here are some reasons why creating password protected zip files can be beneficial:
- Enhanced Security: Password protected zip files add an additional layer of security to your files. Even if the files are shared or accessed by unauthorized individuals, they won’t be able to extract the contents without the password.
- Data Encryption: Zip files provide a level of encryption, ensuring that the contents within them are scrambled and cannot be easily accessed without the correct password.
- Convenient File Sharing: Password protected zip files allow you to securely share files via email or other file-sharing platforms without worrying about unauthorized access or data leakage.
- Organization and Storage: Creating password protected zip files can help you organize and store your files in a secure and compact manner, saving disk space and making it easier to manage.
With these advantages in mind, let’s explore different methods to create password protected zip files on a Mac.
Method 1. Create a Password Protected Zip File Using the Terminal
The Terminal is a powerful tool on Mac that allows you to execute commands and perform various tasks. Here’s how you can create a password protected zip file using the Terminal:
Step 1: Open the Terminal application on your Mac. You can find it in the Utilities folder within the Applications folder, or by using Spotlight Search.
Step 2: Navigate to the directory where the files you want to zip are located. You can use the `cd` (change directory) command to move between folders.
Step 3. To create a password-protected ZIP file, use the zip command with the -e flag followed by the desired archive name and the list of files you want to include. You’ll be prompted to enter and verify the password:
zip -e archive_name.zip file1.txt file2.jpg
Step 4: Replace "archive_name.zip" with the desired name for your ZIP file and specify the files you want to include in the archive. After running this command, you’ll be prompted to enter a password for the ZIP file. Make sure to choose a strong and memorable password.
Step 4: To confirm that your password-protected ZIP file has been created successfully, you can use the ls command to list the files in the current directory:
ls
Step 5: Try to open the ZIP file by double-clicking it in Finder. You will be prompted to enter the password you specified when creating the archive. This password protection adds an extra layer of security to your files.
| Pros | Cons |
|---|---|
| 1. Provides strong encryption for sensitive files. | 1. Requires familiarity with Terminal commands. |
| 2. No additional software installation necessary. | 2. Cannot add or modify files within the zip file without extracting and re-zipping. |
| 3. Password protected zip files can be easily shared and opened on various platforms. | 3. Command line interface may be intimidating for some users. |
Method 2. Create a Password Protected Zip File Using FossZIP
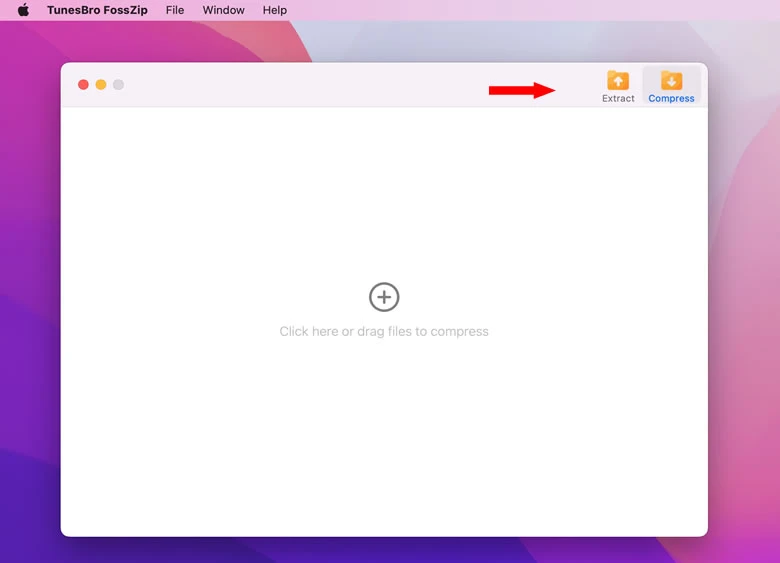
If using the Terminal is not your preferred method, there are several third-party applications available that offer a graphical interface for creating password protected zip files. One such application is FossZIP. Here’s how you can use FossZIP to create a password protected zip file:

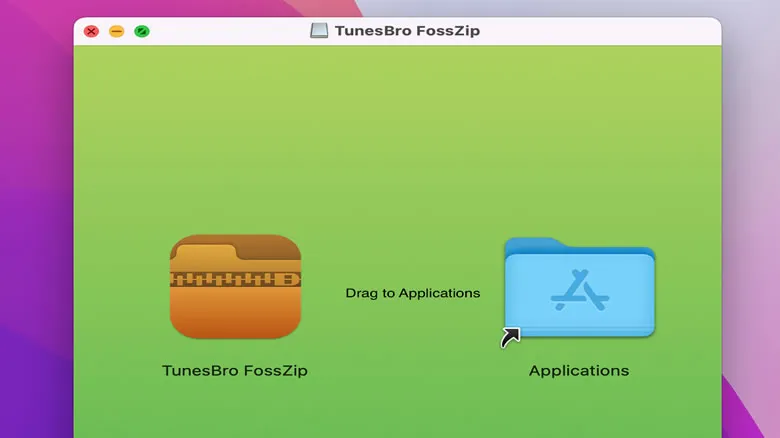
Step 1: Download and install FossZIP from the official website.
Step 2: Open FossZIP and go to the Preferences.
Step 3: In the Archive tab, choose the encryption method you prefer, such as ZipCrypto or AES-256.
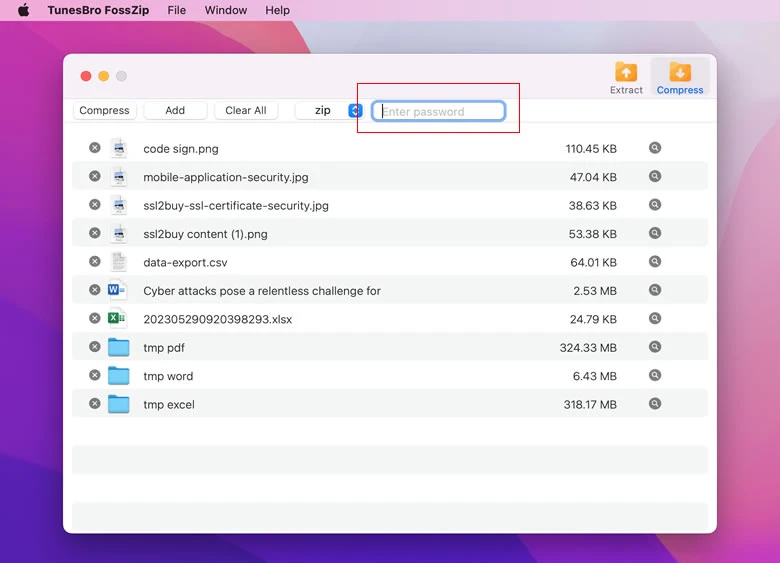
Step 4: Drag and drop the files you want to include in the zip file onto the FossZIP window.
Step 5: In the FossZIP window, click on the Password button, enter your desired password, and click OK.
Step 6: Choose the destination folder where you want to save the password protected zip file.
Step 7: Click on the Create button to generate the password protected zip file.
Pros:
| Pros | Cons |
|---|---|
| 1. User-friendly graphical interface. | 1. Requires installation of third-party applications. |
| 2. Provides multiple encryption options. | 2. May not be as secure as using the Terminal method. |
| 3. Allows easy modification and update of files within the zip file. | 3. Some third-party applications may have limitations in terms of file size or functionality. |
Method 3. Make a Password Protected Zip File Using the Archive Utility
Mac also has a built-in Archive Utility that allows you to create zip files with password protection, but it does have its limitations and drawbacks. Archive Utility primarily supports the ZIP and the older StuffIt formats. It lacks native support for popular formats like RAR and 7z. Users frequently have to resort to third-party software or Terminal commands to handle these formats.
Here’s how you can use the Archive Utility:
- Step 1: Select the files you want to include in the zip file.
- Step 2: Right-click on the selected files and choose Compress X Items, where X is the number of selected items.
- Step 3: Rename the generated zip file to your desired name.
- Step 4: Double-click on the zip file to open it with the Archive Utility.
- Step 5: In the Archive Utility window, click on the Gear icon and select "Encrypt ‘zipfilename.zip'".
- Step 6: Enter your desired password and click Set Password.
Pros:
| Pros | Cons |
|---|---|
| 1. No additional software installation necessary. | 1. Limited options for customization or encryption algorithms. |
| 2. Uses the built-in Archive Utility for a seamless experience. | 2. Not as feature-rich as third-party applications. |
| 3. Easy and straightforward process. | 3. Limited password recovery options. |
Method 4. Create a Password Protected Zip File Using Online Tools
If you prefer not to install any additional software or use the terminal, you can also create password protected zip files using online tools. Websites like Zipify or iZip can help you create secure zip files with just a few clicks. Here’s how it works:
Step 1: Open the website of your preferred online tool, such as Zipify or iZip.
Step 2: Choose the files you want to include in the zip file by uploading them to the website.
Step 3: Set a password for the zip file.
Step 4: Click on the "Create Zip" or similar button to generate the password protected zip file.
Pros:
| Pros | Cons |
|---|---|
| 1. No software installation required. | 1. Requires an internet connection. |
| 2. Easy and user-friendly interface. | 2. File size limitations may apply. |
| 3. Convenient for one-time or occasional use. | 3. Relies on third-party services for file encryption. |
Alternatives: What to Do If You Can’t Create Password Protected Zip Files
If for any reason you are unable to create password protected zip files, here are a few alternative solutions you can consider:
1. Use Encrypted Disk Images: Mac’s built-in Disk Utility allows you to create encrypted disk images, which are like virtual hard drives that can store your files securely. You can create a new encrypted disk image, set a password, and save your files within it.
2. Encrypt Individual Files or Folders: Instead of creating a password protected zip file, you can encrypt specific files or folders using macOS’s built-in FileVault. This allows you to encrypt the entire contents of your selected files or folders, preventing unauthorized access without the need for zipping.
3. Utilize Cloud Storage with Encryption: If you are concerned about file security and want to share files with others, consider using cloud storage services that offer encryption options. Services like Dropbox or Google Drive allow you to password protect your files, ensuring that only authorized individuals can access them.
Bonus Tips
Here are some bonus tips to enhance your file security and password protected zip file experience:
- Use a strong, unique password for your zip files. Avoid using common passwords or easily guessable information.
- Regularly update your password protected zip files with new, stronger passwords to maintain security.
- Keep a backup of your passwords in a secure place, such as a password manager, to avoid potential loss or forgetfulness.
5 FAQs about Making Password Protected Zip Files
Q1: Can I create password protected zip files on Windows?
A: Yes, Windows also offers built-in functionality to create password protected zip files using tools like 7-Zip or WinRAR. The process may differ slightly, but the overall concept remains the same.
Q2: Can I password protect individual files within a zip file?
A: No, when you password protect a zip file, the password applies to the entire archive. You cannot selectively password protect individual files within the zip file.
Q3: Are password protected zip files completely secure?
A: While password protected zip files provide an additional layer of security, it’s important to note that no security measure is completely foolproof. A determined attacker may still be able to crack the password given enough time and resources.
Q4: What should I do if I forget the password to a zip file?
A: Unfortunately, if you forget the password to a zip file, there is no built-in recovery option. It’s crucial to remember or securely store your passwords to avoid losing access to encrypted files.
Q5: Can I use the same password for multiple zip files?
A: While it may be more convenient to use the same password for multiple zip files, it’s generally recommended to use unique and strong passwords for each file to enhance security. This way, if one password is compromised, the other files remain protected.
In Conclusion
Creating password protected zip files is an effective way to secure your sensitive information and prevent unauthorized access. Whether you choose to use Terminal commands, third-party applications, or online tools, password protecting your zip files adds an extra layer of security to your files. Remember to use strong and unique passwords, regularly update them, and consider alternative solutions if creating password protected zip files is not possible. Keep your files secure and your data protected with password protected zip files on your Mac.