We’ve all been there. That moment when you realize your old USB drive, the one gathering dust in a drawer, still has sensitive files on it—things like tax returns, personal photos, or who knows what else you’d rather not leave lying around. Whether you’re planning to sell it, give it away, or just want to ensure it’s squeaky clean before repurposing, completely wiping your USB drive is the way to go.
When I first started diving into the world of securely erasing data, I didn’t realize how tricky it could be. You delete files, empty the recycle bin, and think you’re good to go. Nope. Turns out, most of that “deleted” data is still sitting there, recoverable with a bit of software magic. Cue my paranoia and the discovery of Dr.Wiper—the tool that made my life a whole lot easier.
Why Just Deleting Files Isn’t Enough
So, quick confession: I was one of those people who thought dragging files to the trash was enough to erase them. Imagine my horror when I learned that deleted files don’t actually disappear. They’re just marked as “free space,” waiting to be overwritten. If someone gets their hands on your USB drive and has even basic recovery software, your files could come back to haunt you.
That’s when I realized I needed a method that didn’t just delete files but made sure they were gone forever.
My First Time Using Dr.Wiper
After doing some research (and panicking about the possibility of my files being recovered), I came across Dr.Wiper, a tool specifically designed to securely erase USB drives and other storage devices. What drew me in? It was easy to use, reliable, and most importantly, it made data unrecoverable.
Here’s how my first experience went:
Step 1: Downloading and Installing Dr.Wiper
The first thing I noticed was how straightforward it was to get started. You can downloaded Dr.Wiper below directly, and the installation was smooth—no weird ads or sketchy extra software trying to sneak in.


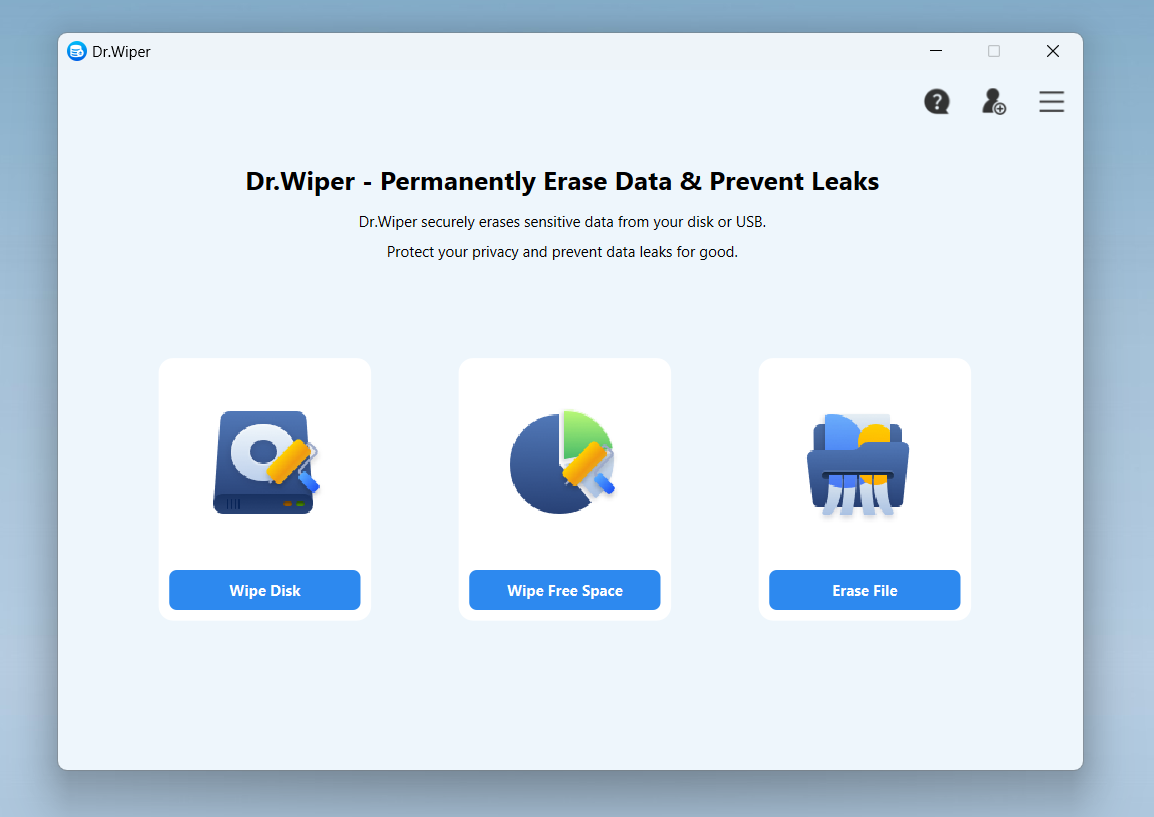
Step 1. Launch Dr.Wiper and click "Wipe Disk".
Step 2. All disks and partitions will be listed on the screen. Now, please select the USB drive to proceed. In my case, the USB drive is F.

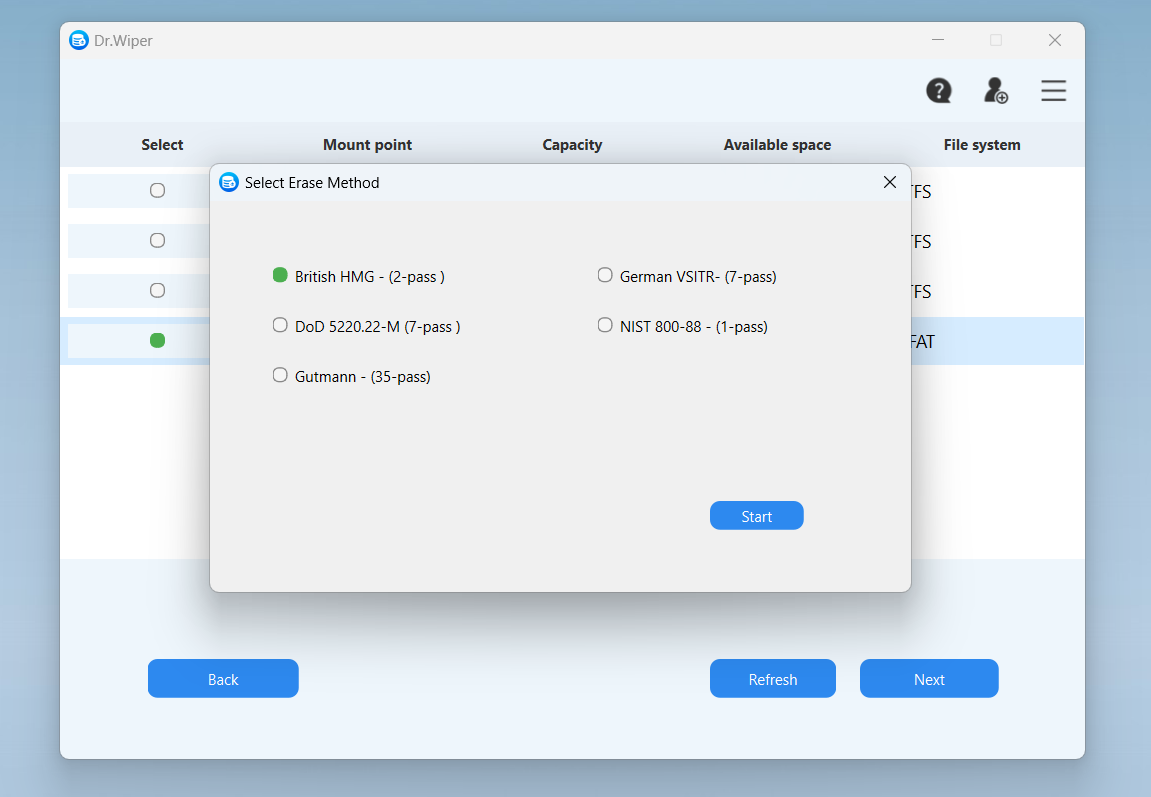
Dr.Wiper offers 6 professional-grade wiping methods, Pick the one that best fits your security needs.
-
British HMG – (2-pass)
-
German VSITR – (7-pass)
-
DoD 5220.22-M – (7-pass)
-
NIST 800-88 – (1-pass)
-
Gutmann – (35-pass)
Step 4. For safety, type Erase in the confirmation box when prompted to proceed.
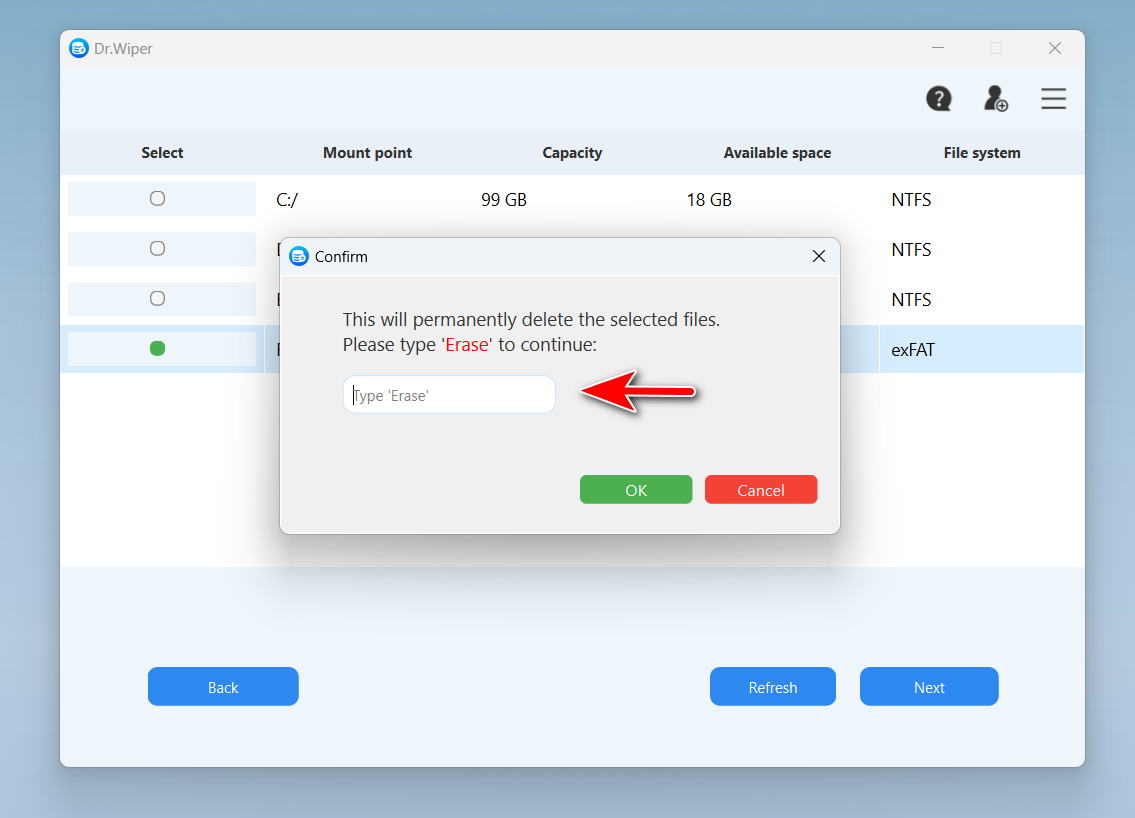
Step 4. Click OK and watch as Dr.Wiper securely overwrites your data—bit by bit.

Once Dr.Wiper is done, those files are as good as gone. You can rest easy knowing your data won’t end up in the wrong hands.
Why I Recommend Dr.Wiper
Using Dr. Wiper has become my go-to method for securely erasing USB drives, and here’s why:
- Ease of Use: I’m not a tech wizard, but Dr.Wiper made the process super simple.
- Multiple Wipe Options: From quick erases to multi-pass overwrites, there’s a method for every level of paranoia.
- Speed and Reliability: Even with the more thorough wiping methods, Dr.Wiper worked faster than I expected.
- Peace of Mind: Knowing that my data is truly unrecoverable is priceless.
Wrapping It Up
Securely wiping a USB drive isn’t just about decluttering—it’s about protecting your privacy. Whether you’re getting rid of an old drive or just want to start fresh, Dr.Wiper is hands-down the best tool I’ve found for the job. It’s quick, thorough, and incredibly user-friendly.
So, next time you’re staring at a pile of old USB drives, don’t just delete files and call it a day. Take a few extra minutes to wipe them properly with Dr.Wiper. Trust me, your future self will thank you.