Hey there, fellow Mac enthusiasts and music lovers! Have you ever found yourself with a collection of MP3 files, wishing they were in the more Apple-friendly M4A format? Maybe you want to ensure compatibility with your iPhone, or you’re seeking that slightly better audio quality without the files taking up too much space. Well, you’re in luck because I’ve been down that road, and I’m here to share some wisdom. Here are three ways I’ve personally used to convert MP3 to M4A on a Mac, each with its unique charm.
1. Using AudioKies (Windows and Mac)
Converting audio files to different formats can be a necessary task for a variety of reasons, whether you’re looking to ensure compatibility with various media players or optimize audio for specific purposes. For Mac users, AudioKies software offers a streamlined and efficient way to convert MP3 files to M4A, a popular format known for its balance between quality and file size.
Step 1: Install AudioKies
First, download and install AudioKies software from the official website. Make sure to download the version compatible with your Mac OS version or Windows 11/10. Installation is straightforward—just follow the on-screen instructions.


Step 2: Launch AudioKies and Import MP3 Files
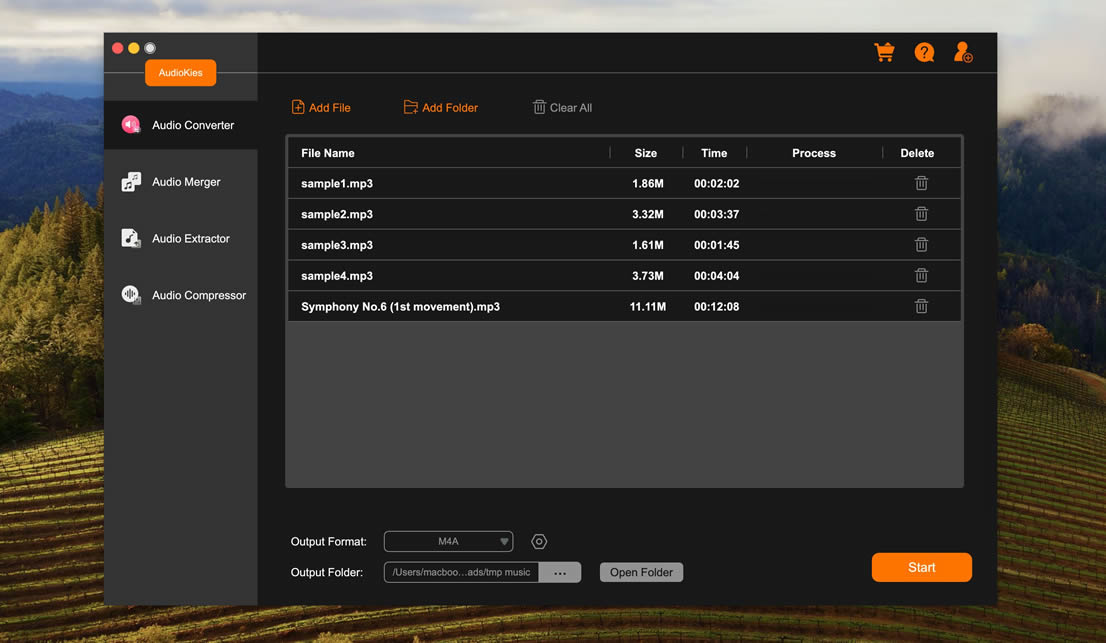
Open AudioKies on your Mac. To import your MP3 files, you can either drag and drop them directly into the software window or use the ‘Add Files’ button to browse and select the files from your system. AudioKies supports batch conversions, so feel free to add multiple files if needed.
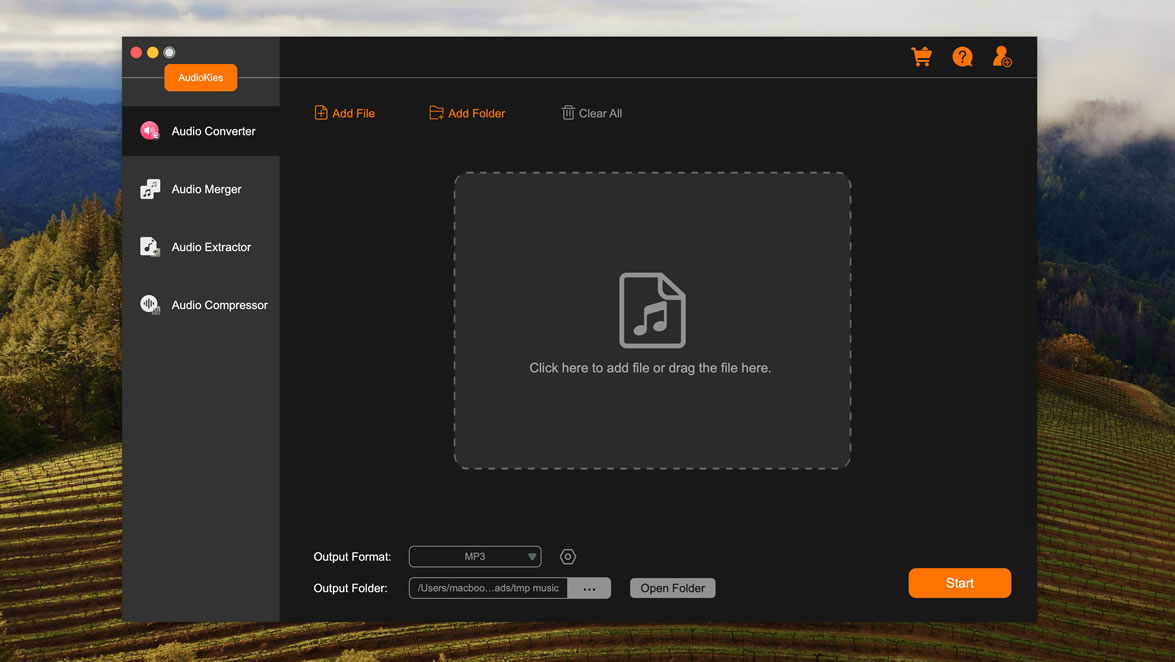
Step 3: Choose Output Format
Once your files are imported, look for the format selection section in the interface. From the list of output formats, select ‘M4A’. Here, you can also adjust the audio quality settings. AudioKies allows you to customize the bitrate, sample rate, and other parameters to fine-tune the output according to your preferences.
Step 4: Set the Output Folder
Before starting the conversion, set the destination folder where the converted files will be saved. You can choose the default Music folder, or select a different location by clicking on the ‘Browse’ button and selecting your preferred folder.
Step 5: Start the Conversion
With all settings configured, click the ‘Convert’ button to start the conversion process. The time taken will depend on the number of files and the settings you’ve chosen. AudioKies displays a progress bar to let you track the conversion status.
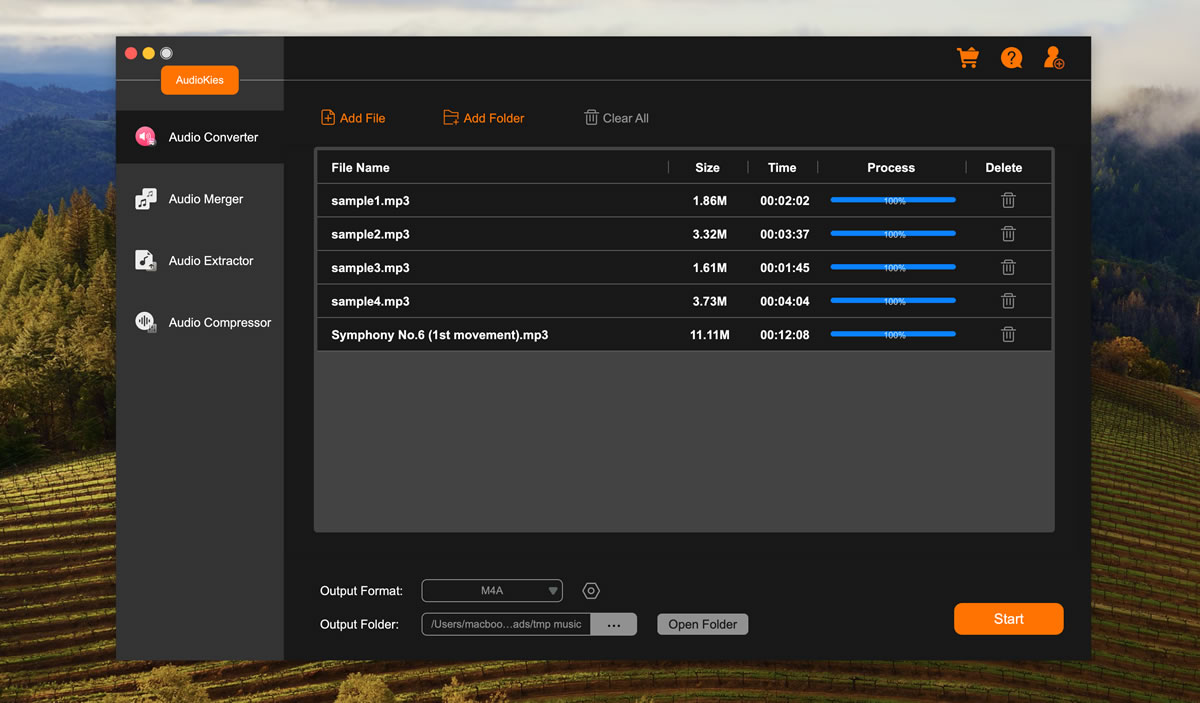
Step 6: Access Your M4A Files
Once the conversion is complete, you can find the M4A files in the destination folder you set. They are now ready to be played on any compatible media player or device.
Tips for Efficient Use of AudioKies
- Batch Conversion: Utilize the batch conversion feature to save time when converting multiple files.
- Presets: Use the preset profiles for different devices if you’re unsure about the settings to choose for optimal playback on specific devices.
- Update Regularly: Keep your AudioKies software up to date to ensure compatibility with the latest Mac OS updates and to utilize new features and improvements.
2. Audacity – The Customizable Route
For those who love to tinker, Audacity is a free, open-source software that’s like a Swiss Army knife for audio editing. Converting MP3 to M4A is just the tip of the iceberg. First, you’ll need to install it, and don’t forget to grab the FFmpeg library to export M4A files. Here’s a quick rundown:
- Open your MP3 file in Audacity.
- Edit to your heart’s content (or don’t, that’s fine too).
- When you’re ready, go to "File" > "Export" > "Export as M4A."
- Choose your settings and export location, then hit "Save."
Audacity gives you that "I made this" feeling, with the added bonus of being able to edit your audio files before conversion.
Wrapping Up
Converting MP3 files to M4A on a Mac doesn’t have to be a chore. Whether you go for the classic method using the Music app, get your hands dirty with Audacity, or opt for the simplicity of an online tool, each method has its own charm. I’ve found myself using all three at different times, depending on my needs and mood.
Remember, technology is a tool meant to serve us, so choose the method that makes your life easier and your music listening experience better. Happy converting!